
Wallets: Gateway to web3
A simple guide to setting up a crypto wallet, purchasing a crypto asset and performing a simple on-chain transaction

Gateways have long been the way humans gain access to whole new worlds. From the ancient days of humans using doors to enter homes, bridges to cross vast rivers, and even portals in mythology to discover other realms, gateways symbolise opportunity and transformation. Web3 is no different.
In this digital era, wallets are the ultimate gateway to Web3, unlocking access to decentralised applications, digital assets, and the boundless possibilities of blockchain technology. Without them, the journey into Web3’s revolutionary landscape would remain out of reach.
This article is a tutorial on how to set up a decentralised crypto wallet, get your first cryptocurrency, and perform an on-chain action with your new wallet. It is beginner-friendly and easy to follow along.
Setting up wallet
To get started, we'll be downloading a decentralised wallet.
A decentralised crypto wallet is a digital wallet that gives you full control of your cryptocurrencies without relying on a third party. It allow you to send, receive, and manage your crypto directly on the blockchain. It also lets you interact with Decentralized apps (DApps).
There are many to choose from, but for this tutorial we’ll be using phantom, a Solana-based wallet. You can get the mobile app on the App Store, Play Store or its browser extension.
Upon download being completed, open the Phantom app; you’ll be prompted to create a new wallet or import one.
It’s our first time using the platform, so create a new wallet.
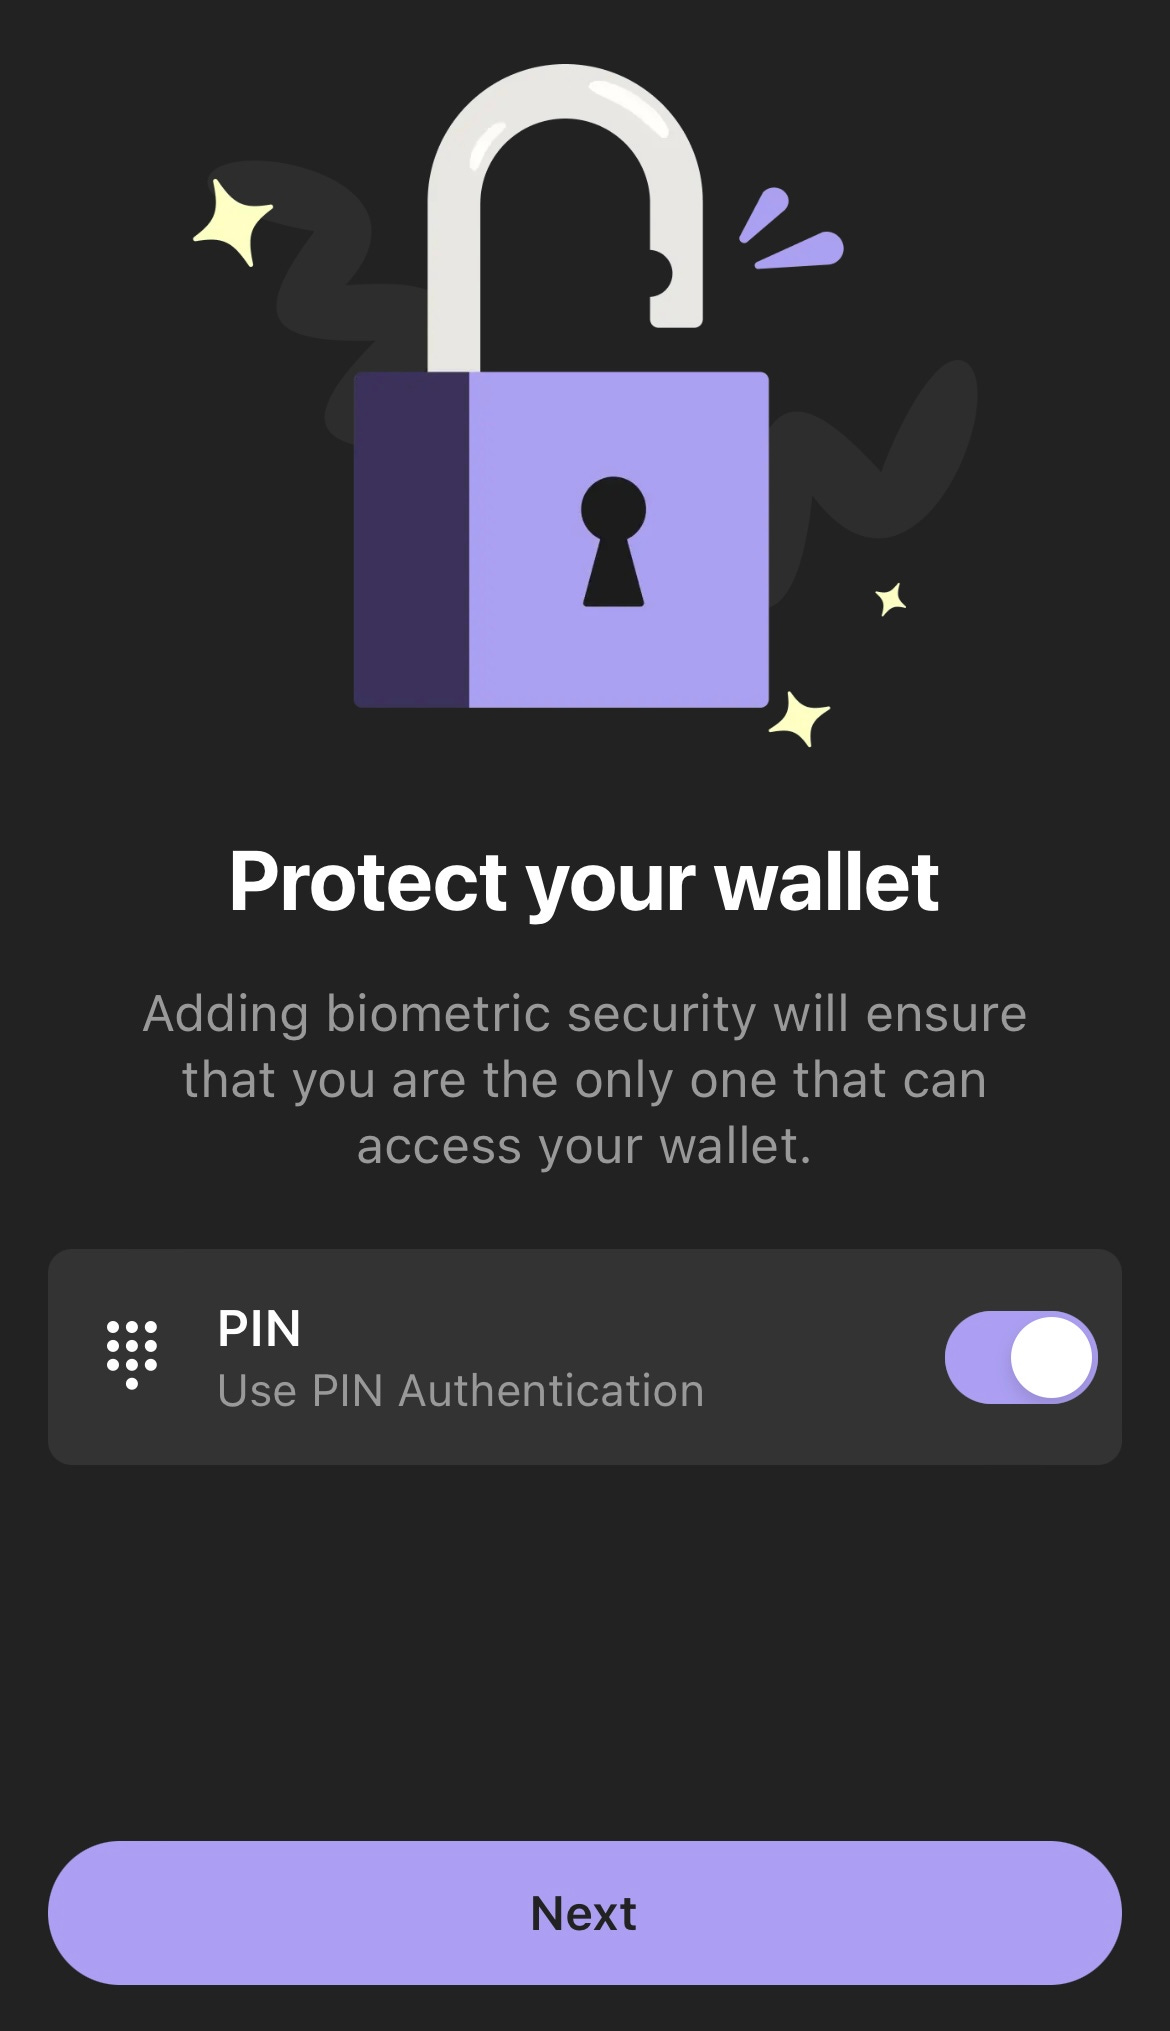
Next is login password. Since it’s mobile, you can use your device's fingerprint, faceID, or password to login each time you want to make use of your wallet.
The login password lets you secure your wallet from unauthorised access on your device; it differs from the seed phrase.
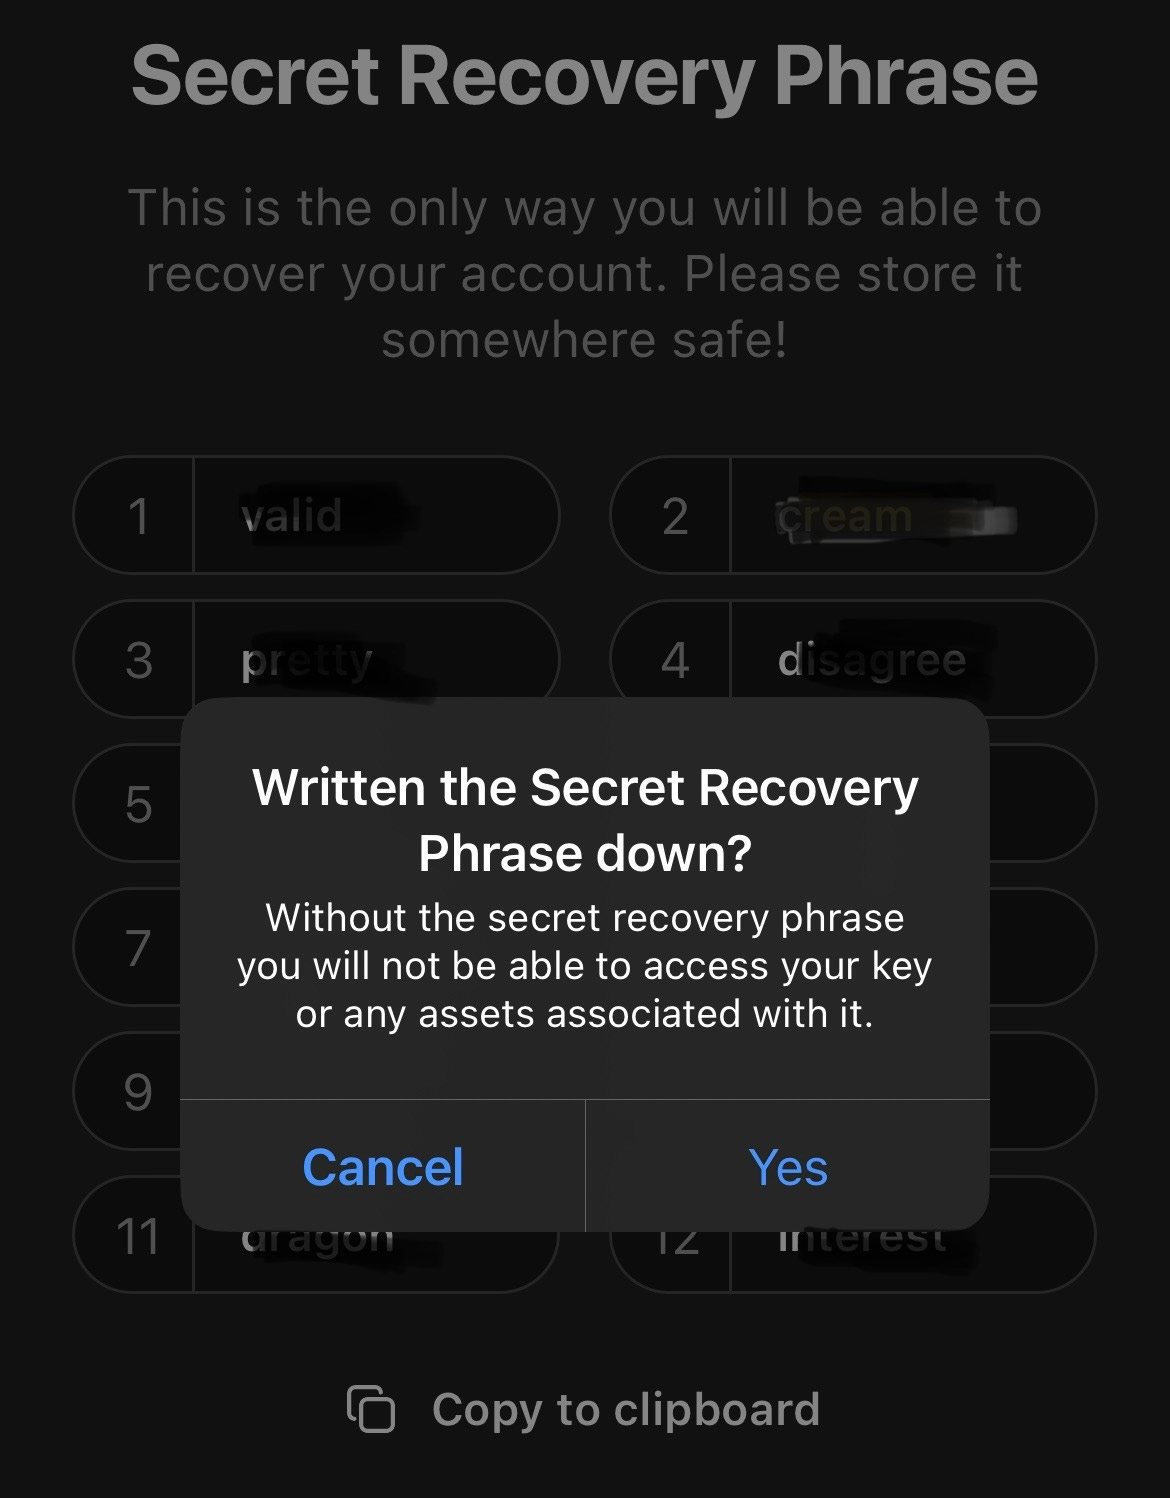
Next, a 12-word seed or secret recovery phrase would be displayed for you to write down or store somewhere safe.
A secret recovery phrase is a 12, 18, or 24 randomly generated words that act as a master key to access your cryptocurrency wallet. It’s the backup for your private keys, allowing you to recover your funds if you lose access to your wallet. Keeping your seed phrase secure and private is essential, as anyone with it can access and control your wallet.
If you lose them, you lose access to your crypto wallet, and it can't be recovered. Make sure they are backup properly.
Do not share your seed phase with anyone, as this would give them access to your wallet. Always be cautious so no malicious persons can get access to it. Yes, it’s that important.
After completion of the sign-up process, a wallet address is generated for you. Since we are making use of phantom, a Solana address is generated.
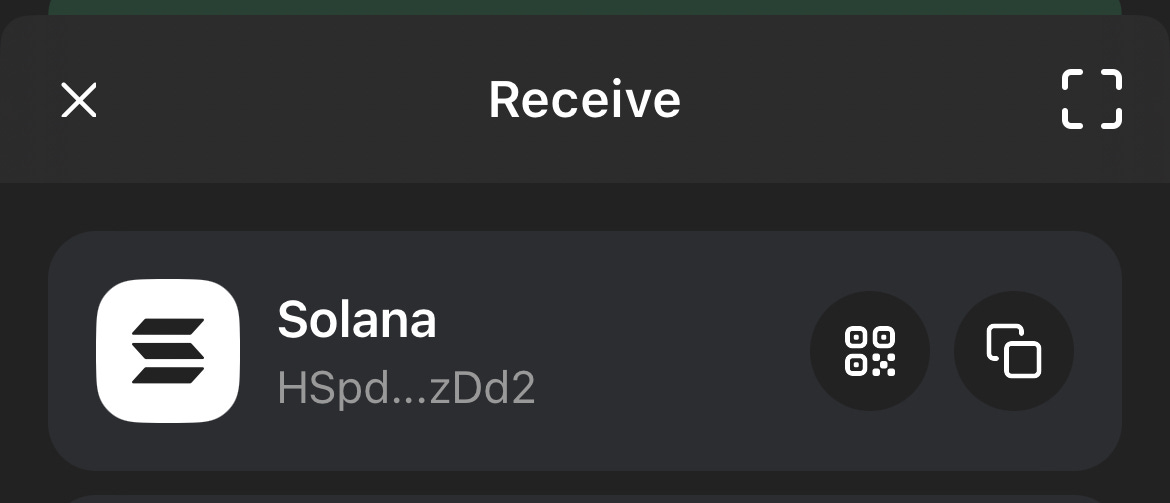
This Solana address is your public key that can be used to sign up on decentralised apps (DApp) and shared with others to receive Solana-based cryptocurrencies and NFTs.
Phantom has this new feature that lets users create usernames that can be shared with other phantom users to send and receive crypto and NFTs. This reduces the friction of copying wallet addresses but is only available to phantom wallet users. You can’t send your phantom username to someone using a different wallet to send your crypto assets.
Now we’re all set up to interact with this amazing world of decentralised apps and finance.
Funding your first crypto
Obtaining your first crypto can go from being easy to being tricky. Tricky if the country you reside in has crypto laws banning the direct purchase and use of cryptocurrencies or any activity involving crypto assets.
Though we are using a decentralised wallet, purchasing crypto using a debit or credit card requires knowing your customer's (KYC) identification, and I know for a fact some platforms fail at capturing some identity type.
I’m going to discuss 3 ways in which you can get or purchase your first crypto.
Asking someone directly to send you crypto (p2p)
Through phantom in-app purchase
Through centralised crypto exchanges
Let’s dive in.
First method: If you know anyone who has cryptocurrency in their wallet friends, family, colleagues and they are willing to give you a small amount. Simply copy your wallet address and send it to them to send you some crypto.
When sending your wallet address, always make sure to tell the person you’re giving the blockchain network to send on. Receiving any crypto on Phantom uses the Solana blockchain network, so if someone were to send you crypto, they are to do so on the Solana network; if not, it would be lost. Always make sure to tell them what network to use. If the sender is a phantom user, send them your username.
Second method: buying crypto in-app through third-party providers. On phantom, you can directly input an amount of crypto you want to purchase and be redirected to a third-party service to complete payment by clicking the buy button on the dashboard. The purchased crypto would be deposited into your wallet after completion of the process on the third-party platform. This third-party service usually takes your fiat (local currency) through your debit card, credit card, or bank transfer and gives you a crypto asset, e.g., sol.
Third method: This is the tricky one because, due to regulatory restrictions, you may not be able to purchase cryptocurrency in-app because you reside in an area where the third-party provider does not offer cryptocurrency purchases or you can't get someone to send you some.

Also, people in some regions don’t have proper identification documents like passports or drivers licenses. They utilise local identification papers that aren’t either recognised or captured by most identity systems. That’s where local centralised exchanges come into play.
If you fall into this category, you can easily create an account with the local crypto exchange in your country, basically because they know how to handle local identity capture and KYC. Then fund it using your local currency to buy crypto (sol) and have it transferred to your Phantom wallet address.
You might ask, Why don't I just create an account with a local crypto wallet instead? Reasons are that these local exchanges aren’t web-based and can’t handle on-chain actions such as staking and NFT trades, and you might want to perform some.
For countries where crypto is partially or totally banned, meaning you can’t purchase crypto using bank transfer, debit card, or credit card but can still register using recognised identification documents and VPN. You can use peer-to-peer (p2p) on platforms like Bybit and Binance to get crypto assets.
Peer-to-peer (P2P) trading is a way of buying and selling cryptocurrencies where traders buy and sell directly with each other on a cryptocurrency exchange app or website.
Performing an on-chain action
Remember I said you may want to perform some on-chain action, which is really possible on decentralised exchanges like phantom.
I’m going to show one such action, which is staking. I am going to stake my sol to earn more sol.
Staking is when you lock crypto assets for a set period of time to help support the operation of a blockchain in this case Solana. In return for staking your crypto, you earn more cryptocurrency. Instead of just holding your crypto (Sol), watching the price go up and down, why not stake it and earn more?
To do this, I’m also going to use the Greed validator to stake my sol.
Step1: Access the Staking Feature
On the Phantom wallet, navigate to the main dashboard.
Click on the Solana (SOL) token to view options for staking.
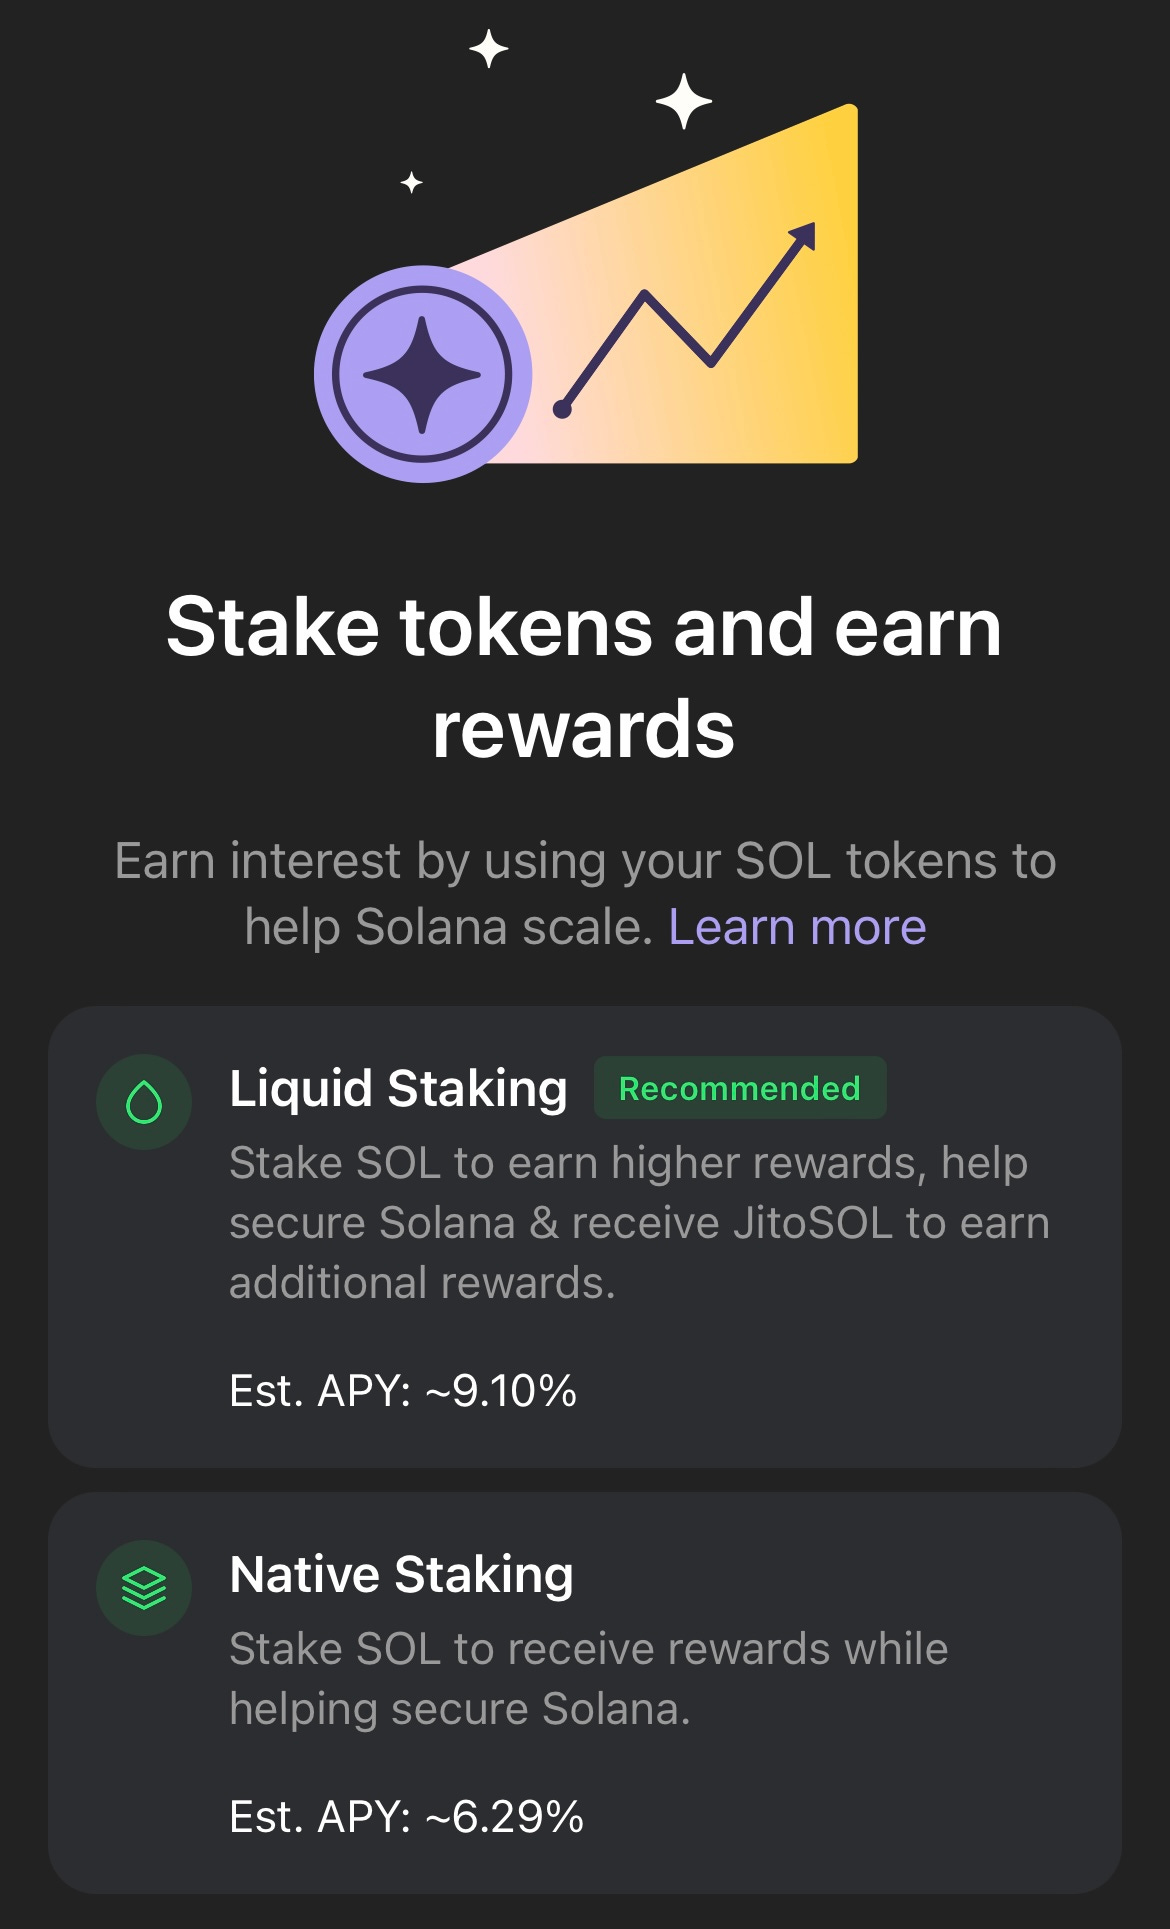
Select the “Start Earning SOL” button.
We’re going with “Native Staking” because we want to still retain full custody of our Sol while staking it. So click that.
Step 2: Choosing a Validator

A list of available validators will appear. Use the search bar to type “Greed” to find the Greed validator.
Review its commission rate and performance metrics (like uptime) to ensure it meets your needs.
Select Greed Academy as your validator.
Step 3: Stake Your SOL


Enter the amount of SOL you want to stake. Make sure to leave a small amount for transaction fees.
Confirm your selection and approve the transaction.
Phantom will process the staking transaction, which typically takes a few seconds.
After staking, you can view your active stake under the “Your Stake” or “Staking” tab in Phantom.
Rewards will automatically accrue and can be claimed periodically.
I hope you found this lesson useful as you begin your crypto journey. Thank you for sticking to the end. To the moon 🚀